
Last updated November 15, 2026
 Wrought iron
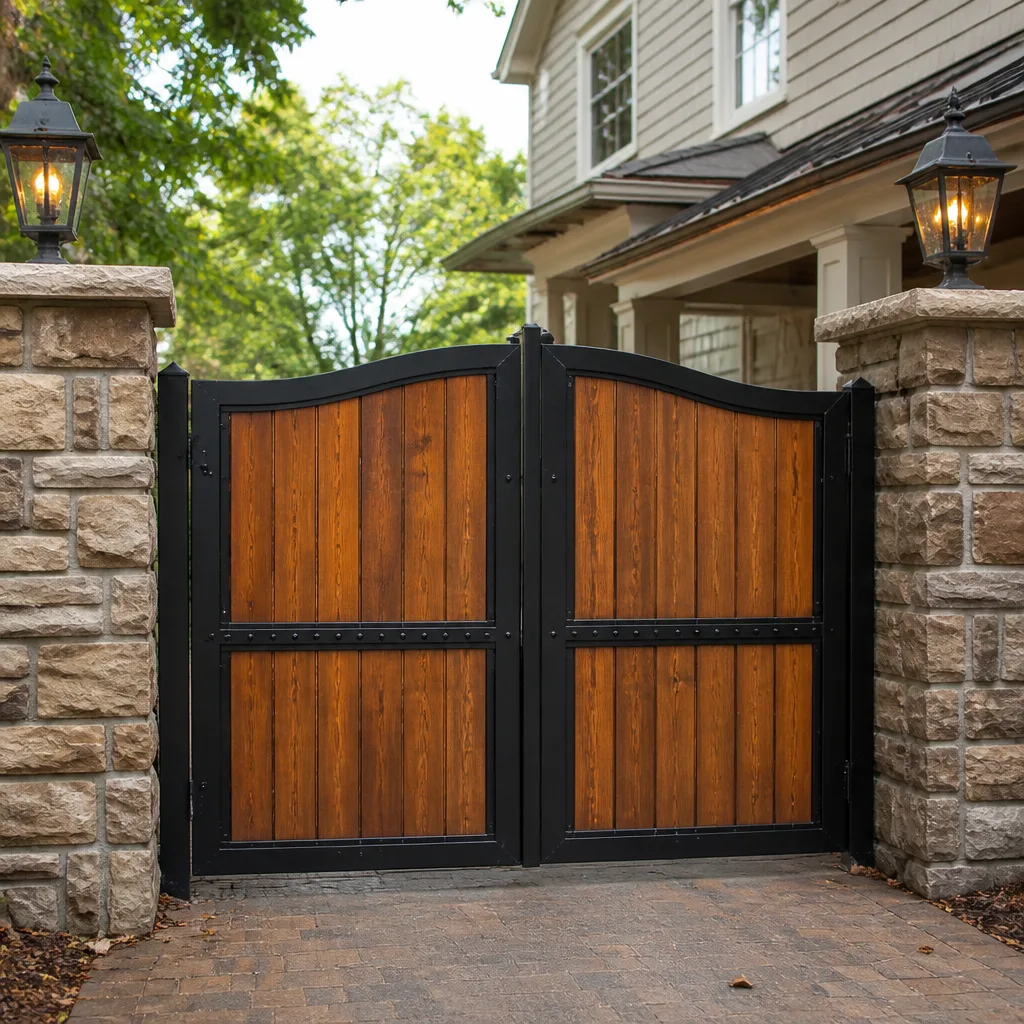 Wood & steel frame
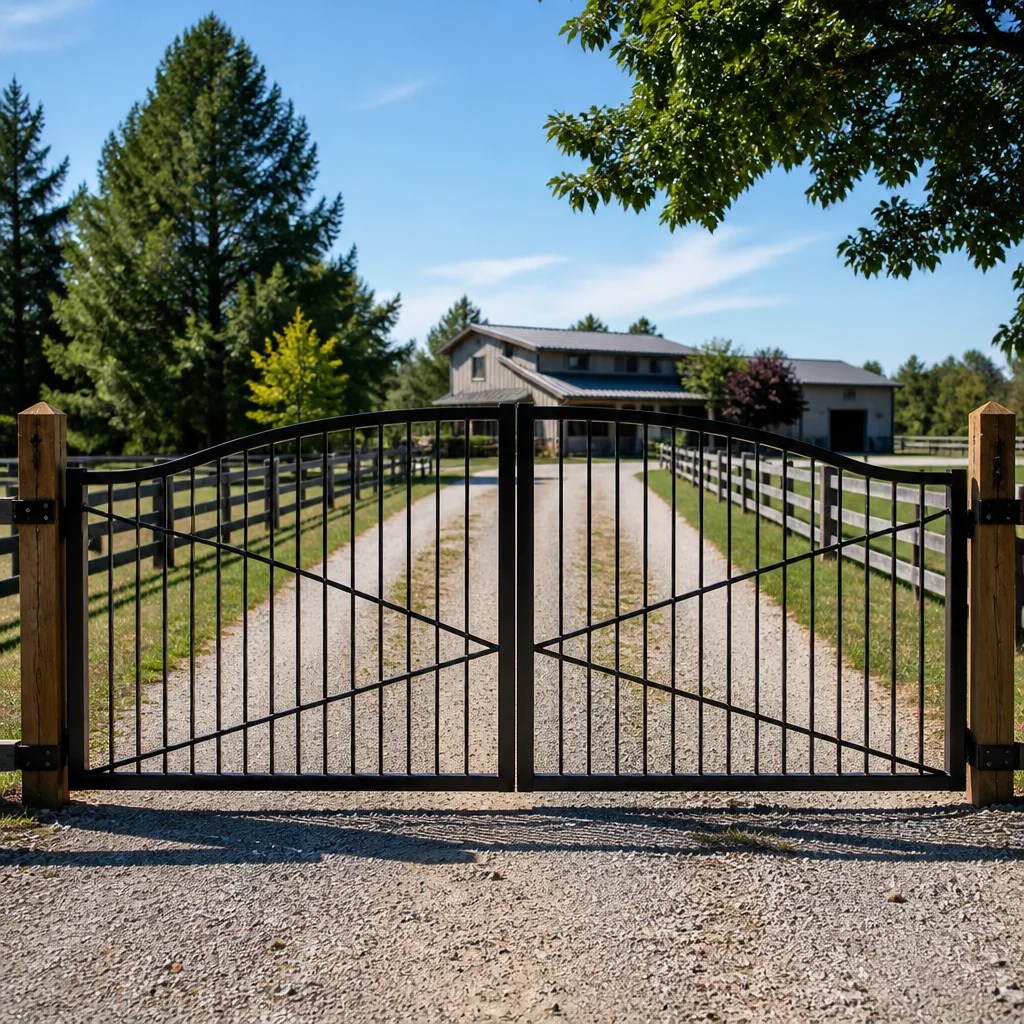 Farm & ranch
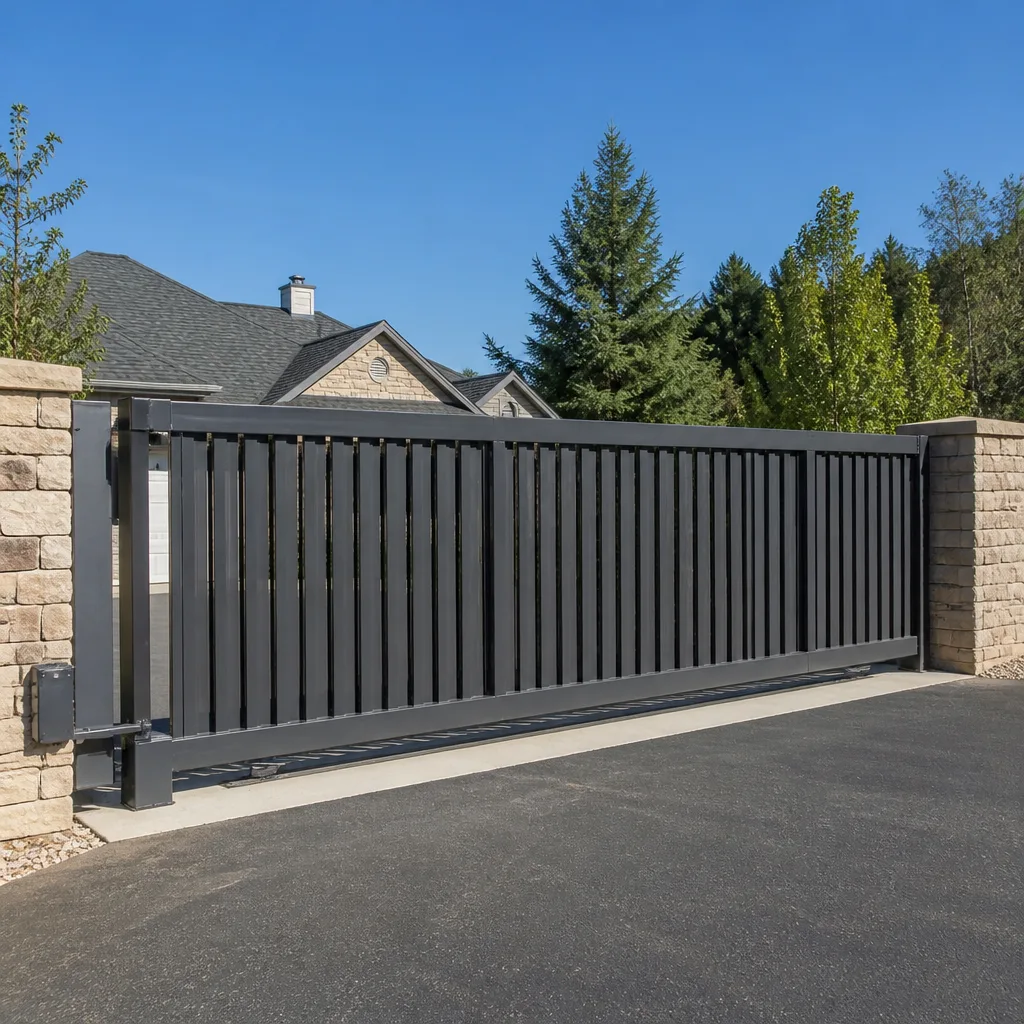 Sliding driveway gates
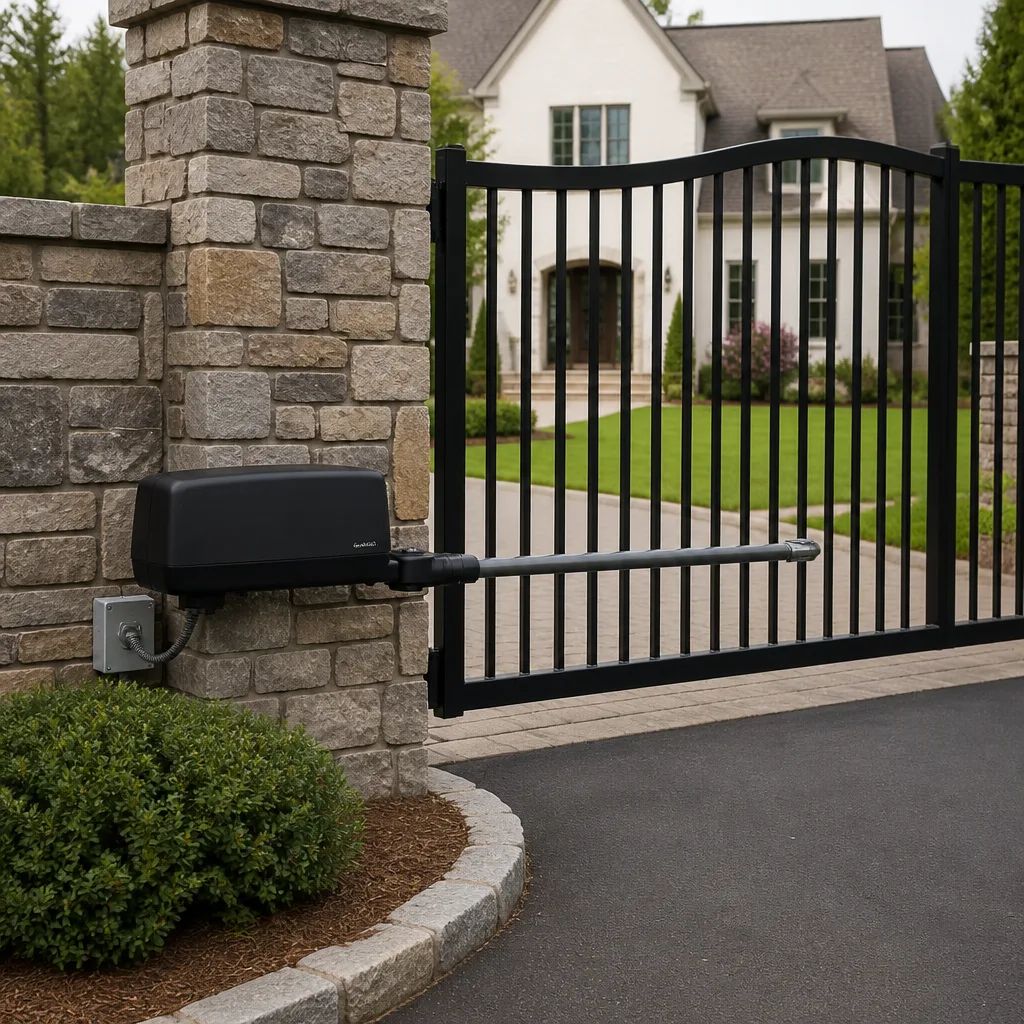 LiftMaster operators
Free on-site gate assessment - hinges, posts, and your LiftMaster or Nice gate operator checked before anything is quoted
The assessment is free and the quote is the invoice.
Get your free estimateGate Repair Maintenance Checklist for Columbia Homeowners
Most printable gate checklists tell you to “lubricate moving parts,” which is about as useful as telling a pilot to “check the plane.” The real failures on a Columbia gate rarely start at the hinge. They start in the soil under the post, in the low spot where meltwater stands every February, and in a limit switch nobody has looked at since the day it was set. This guide walks you through a task-by-task inspection sequence built around how gates actually fail in Columbia: monthly tasks, quarterly tasks, and the annual jobs that pay for themselves. You’ll learn what to look at, what the finding means, and when it’s time to stop looking and make a phone call.
Quick Answer
A gate maintenance checklist for Columbia homeowners should separate tasks into three tiers: monthly checks of the safety systems and hardware, quarterly checks of the operator, drive mechanism and alignment, and an annual full inspection timed to the freeze-thaw cycle. Columbia’s clay soils and repeated winter freezing loosen posts, heave concrete footings and speed up corrosion on chains and fasteners – so alignment, anchoring and lubrication matter more here than in a milder climate. Anything involving the operator’s power supply, wiring or a gate that has drifted off its track should go to a trained technician, not a homeowner.
Styles & brands we work with
- Wrought iron
- Wood & steel frame
- Farm & ranch
- Sliding driveway gates
- LiftMaster operators
Table of Contents
- Monthly Checks: The Ten-Minute Tier
- Quarterly Checks: The Operator and Drive Mechanism
- Annual Inspection: What the Freeze-Thaw Cycle Does to Columbia Gates
- Lubrication: The Right Product for the Right Component
- Safety Reversals and Loop Detectors: The Tests Most Homeowners Never Run
- Documenting Inspections So a Technician Can See the Trend
- Common Mistakes to Avoid
- When to Call a Professional
Monthly Checks: The Ten-Minute Tier
Monthly checks are the cheap, fast ones – the equivalent of checking your own pulse. They don’t require tools and they don’t require you to open anything up. What they do is catch the small changes early, while they’re still small. In Columbia, where the ground moves more than most homeowners expect through winter, these checks are where you’ll first notice a post shifting or a gate starting to bind.
Walk the gate before you run it. Push it by hand through its full travel and listen. A manual swing gate should move with steady resistance from end to end; a slide gate should roll without a grinding sound or a hop. Grinding, scraping or a spot where the gate feels suddenly heavier all mean something has changed. That small detail is the one that separates a $200 hinge rebuild from a full track realignment.
- Walk the full path by hand. Note any spot where the gate catches, binds or jumps.
- Check the hinges or rollers. Look for daylight between the hinge pin and the barrel, wobble when you lift the gate slightly, or rollers that have worn flat.
- Inspect the post base for cracks. Run your eyes around the concrete footing. Hairline cracks are normal; a crack that’s widened since last month is not.
- Look at the gate frame for rust bloom. Orange flecks around welds or bolt heads mean water is sitting where it shouldn’t.
- Check the gate’s closing gap. The gap between the gate and its strike post should stay consistent. A gap that’s opening up means the gate or latch has moved.
- Clear debris from the full swing path. Leaves, gravel and grass clippings under a slide track will cause premature roller wear.
- Test the lock and latch. A latch that’s getting stiff is telling you the gate has shifted or the pin has worn.
Most of these take a minute each. What they give you is a baseline: you now know what “normal” feels like for your specific gate. Every change after that is easier to spot.
Quarterly Checks: The Operator and Drive Mechanism
Quarterly checks go inside the machinery. This is the tier where brand familiarity pays off, because the checks are different for a LiftMaster swing operator than they are for a Mighty Mule or a FAAC system. Different operators use different drive mechanisms – worm gears, hydraulic arms, chain drives – and each has its own wear points. What stays the same is the intent: look for looseness, wear and contamination before a part fails.
Start with the arm or chain. On a swing operator, the arm connects the operator to the gate through pivots. On a slide operator, the chain attaches at the leading edge. Both should move without slop. A pivot with visible play is a pivot that’s about to become an unplanned repair. On chain-drive systems, check the chain tension by pushing laterally against the chain run; it should deflect a small amount and no more. A slack chain skips teeth under load and wears the drive sprocket.
- Operator arm pivots: check for play by wiggling the gate gently while the operator is off. The arm should not move before the gate does.
- Chain tension: check for slack, kinks, and links that have been stretched. Replace the chain rather than tightening a stretched one.
- Limit switches and magnets: the open and close limits decide where the gate stops. A drifted limit means the gate stops short of the post or overshoots it. Note the position of the magnet or cam so you can see if it moves.
- Control box and connections: look (don’t reach in) at the control enclosure for insect nests, moisture or corrosion on the terminal block.
- Accessories: test the keypad, remote and any entry request device. A keypad that needs three presses has a failing button.
- Battery backup (if equipped): most operators with battery backup have an internal indication – a light or a beep – for a low battery. Note any change in the indication.
The accessory check catches a category of problem that’s easy to overlook: everything working fine except the one device you use to call the gate. Test the keypad and the remote. If the keypad needs two or three presses to register, the button pads are wearing out, and that will eventually leave a homeowner or a delivery driver standing on the wrong side of a closed gate.
The control box check is a look, not a touch. Look for a paper wasp nest, a drip line from an irrigation head, or a spot where a wire jacket has been chewed. All three are common in Columbia’s yard plantings and all three will eventually cause a fault. Don’t reach into the box to clean it out – line voltage lives in there, and the compartment isn’t meant to be opened by anyone without the training to do it safely. Note what you saw, then have it handled by a technician during the next visit.
Annual Inspection: What the Freeze-Thaw Cycle Does to Columbia Gates
Columbia sits on clay-heavy soils that behave like a sponge in spring and like drying concrete by August. Add a winter of repeated freeze-thaw cycles and the ground under a gate post moves in a way that a homeowner in a sandier climate never sees. Concrete heaves. Posts lean. Footings settle. The gate still works – for now – but the alignment has quietly shifted, and the operator is now working against the frame instead of with it. The annual inspection is the one that catches what a monthly walk-around can’t, and it’s the one worth doing before winter sets in.
Timing matters more here than in most places. The best window to do a full inspection in Columbia is late fall, before the first hard freeze. A post that’s already leaning will lean further once the soil heaves, and an alignment you correct in October is one the operator will thank you for in March. If the gate gets through a winter and the spring thaws start pulling things back out of line, that’s the second best time: right after the ground fully dries out.
- Set a level against both posts. Stand a spirit level against each post face. A post that’s off plumb by more than a small amount is a post whose footing has moved.
- Check the footing for heave. Look at the concrete pad or tube where the post meets the ground. New cracks, a raised lip, or the concrete pulling away from the post are all freeze-thaw signatures.
- Measure the gate’s alignment. Check the closing gap at the strike post, top, middle and bottom. A consistent gap means alignment is holding. An irregular one means the gate has twisted or dropped on its hinges.
- Inspect the slide track for deviation. On a slide gate, check that the track doesn’t dip in the middle or climb at one end. Heave under one footing will do exactly that.
- Look at fasteners and welds. Check every bolt on the hinge plates, the operator bracket and the track mounts. Any bolt that’s backed off has a reason, usually movement underneath.
- Check posts for corrosion at the ground line. Dirt, damp and freeze cycles rust a steel post fastest right at the soil line. Run a finger around the base and feel for flaking.
- Test the operator’s full cycle at both limits. Run open and closed twice and listen for a change in motor sound between the two. A strain at one limit is a sign the gate has drifted out of square.
A heaving post is not a task to fix with a shim or a longer bolt. It’s a soil and footing problem, and shimming a heaving post just disguises it until something fails. Our technicians have up to 9 years of experience diagnosing exactly this on Columbia gates, and the fix usually starts at the footing – not the hardware. If a post has moved more than a hair, it’s a job for the gate repair conversation, not a screwdriver.
Lubrication: The Right Product for the Right Component
Lubrication is where most checklists collapse into vague advice. “Lubricate moving parts” leaves every homeowner picking one spray can and hitting everything. The components on a gate need different products, and using the wrong one is worse than using nothing. Here’s the breakdown, and here’s why.
Lubrication is where most checklists turn into a vague instruction to “lubricate moving parts,” which usually means one spray can applied to everything. That approach works for a while and then quietly makes things worse. Each component on a gate has a specific job, and the wrong lubricant does more damage than none.
- Roller chain (slide gates): use a dedicated chain lubricant that penetrates the link plates and stays put. Chain spray formulated for outdoor use is the standard. The wrong choice is a heavy grease that attracts grit; the chain becomes a grinding paste and wears the sprocket.
- Rack and pinion (slide gates): use a light grease designed for exposed gears, applied to the rack teeth, not the pinion. Excess grease on the pinion packs with dirt and turns into a sticky paste that pulls the gate out of mesh.
- Hinge pins (swing gates): use a light penetrating oil that soaks into the pivot, not a thick grease that captures dust. A dry hinge squeals; an over-greased hinge attracts grit that speeds wear. A few drops, worked in by opening and closing the gate, is the right amount.
- Lock and latch cylinders: use a dry-film or graphite-based product made for locks. WD-40 is a cleaner, not a lock lubricant; it residues and attracts dust, and a sticky lock pin sticks at the worst time.
The single most common lubrication mistake we see is applying an all-purpose spray to a roller chain and calling it done. That spray evaporates, leaves a thin residue and does nothing to protect the internal pins under load. A year of that kind of maintenance is functionally the same as no maintenance, and the wear shows up at the sprocket first. The second most common mistake is over-applying. More lubricant is not better. Excess grease traps grit, grit speeds wear, wear means a part fails sooner than it should.
There’s a version of this rule that applies to the most expensive components. If your gate has an operator with a sealed gearbox – most modern operators do – the gear oil inside isn’t a user service item. Don’t open it. If the operator is getting louder, note the change and have a technician take it from there.
If the operator’s enclosure needs to be opened for any reason, that’s a technician’s job. Line voltage is present inside the control box whenever the gate has power, and a homeowner shouldn’t be opening that enclosure to inspect a component. Note what you see from the outside; electric gate repair is the right call when something inside needs attention.
Safety Reversals and Loop Detectors: The Tests Most Homeowners Never Run
Safety systems are the one part of a gate that never fail loud. A failing gate is obvious; a failing safety reverse is silent until it matters. That’s why these checks go first on the quarterly list and why a homeowner shouldn’t wait for a problem to test them. The test process is simple and it doesn’t require any tools beyond a reasonably heavy object.
The safety reverse on a swing or slide operator is the feature that stops the gate from closing on a vehicle, a child or a pet. Different operators test it in different ways – some have a physical test button on the control box, some require a test object in the path – but the intent is the same. Put something in the gate’s closing path that the gate will encounter before it reaches full close and see whether it reverses.
- Clear the area. Make sure nobody is in the path of the gate and no vehicle is near the swing arc.
- Start a close cycle. Trigger the gate from the keypad or a remote.
- Introduce the test object. Put a heavy object – a sturdy piece of wood, a full bucket – in the path at a point where the gate will contact it before it closes.
- Watch what happens. The gate should stop and reverse. A gate that slows and continues, or stops and holds, has a safety system that needs attention.
- Test the loop detector. If your gate has a loop detector (a saw-cut loop in the driveway), park a vehicle over the loop and watch the exit for the gate. The gate should not close, and any exit device should register.
- Repeat the test with the loop covered. Some installers set a safety loop and a shadow loop; test each individually by covering one at a time with a piece of cardboard.
- Test the photo eye. Walk slowly through the gate’s closing path and break the beam. The gate should reverse.
A gate that fails a safety test is a gate that should not be running automatically. If a reverse test fails, put the gate in manual mode and leave it there until a technician can inspect it. That’s not a decision to mull over for a few days. The gate can wait. On a brand like LiftMaster or Elite, safety-reverse behavior is tied to the operator’s control board and the setting can be changed – but the reason it fails is often a sensor, a wiring issue or a soft component in the board, and those are the parts a technician has seen before. We’ve run this test on hundreds of gates, and the most common failure we find isn’t the sensor itself; it’s the wiring between the sensor and the control box, corroded or chewed by a yard visitor.
Loop detectors fail differently. A loop can be cut by a driveway repair, a lawnmower blade or root damage, and when it fails the gate often still opens and closes – it just stops knowing when to stay open. That’s a safety issue in the opposite direction. If your gate has ever been hit by a car or had landscaping work done on the driveway, test the loop first.
Documenting Inspections So a Technician Can See the Trend
The single most useful thing a homeowner can do for their gate isn’t a maintenance task – it’s record-keeping. A gate degrades slowly, and a technician who can see what was measured last time can see changes that a one-visit inspection would miss. A post that’s off plumb by half an inch means something different if last year it was plumb. An operator that’s gotten louder means something different if the noise is on the same limit each visit. Trend is the missing piece in most gate repair.
You don’t need a spreadsheet. A notebook or a note on your phone with a date and a few numbers will do. What matters is that you record the same measurements each time so two visits are comparable. Here’s what to write down, and what format keeps it useful.
What matters is that you record the same measurements each time so two visits are comparable. Write them the same way every time – same measurements, same spots – and the trend reveals itself.
- Date and season for every entry. In Columbia, a February entry and an August entry describe two different gates.
- Closing gap at the strike post, measured at top, middle and bottom.
- Post plumb (which direction, by how much, rough is fine).
- Operator noise note – normal, louder at open, louder at close, squeal, grind.
- Safety test result – pass/fail and which test.
- Any new cracks, rust spots or footing changes. Note the location, not just the existence.
- Accessory status – remote, keypad, entry request device, loop detector.
The format that works best is a single column per inspection, dated, with the same measurements in the same order. A technician can read a dozen entries at a glance and see the trend immediately. That’s how a slow change gets caught before it becomes a sudden one. Our technicians work across the nine brands we know best – LiftMaster, FAAC, BFT, Linear, Viking, Ghost Controls, DoorKing, Elite and Mighty Mule – and in every one, diagnosing the operating system starts with knowing what it was doing last time. A record of the gate’s behavior over a year is worth more than a single inspection, and it’s the difference between a targeted repair and a guess.
The most valuable entries are the ones you almost skip. “Post looks slightly more off-plumb than last time” sounds vague, but paired with last year’s entry, it’s a data point. The same applies when you call a technician about your gate repair: the more specific your notes, the more targeted the first visit.
Our technicians have up to 9 years of experience diagnosing exactly this on Columbia gates, and the fix usually starts at the footer – not the hardware. If a post has moved more than a hair, it’s a job for a technician familiar with how this kind of gate behaves in this climate, not a screwdriver.
A heaving post is not a task to fix with a shim or a longer bolt. It’s a soil and footing problem, and shimming a heaving post just disguises it until something fails.
Common Mistakes to Avoid
- Shimming a heaving post. A post that’s out of plumb in Columbia has a footer problem, and adding a shim just hides it while the gate keeps working against its own frame. Fix the footing, not the hardware.
- Lubricating everything with one spray. One can applied to the chain, hinges and lock does a poor job on all three. Chain needs chain lube, pins need penetrating oil, locks need dry film. Wrong product, faster wear.
- Skipping the safety test because the gate “works.” A working gate is not a tested gate. The reverse and loop checks take five minutes and are the checks that matter most.
- Opening the control box. The enclosure holds line voltage. Look from the outside, note what you see and schedule a technician. Never reach in to clear a nest or wipe a terminal.
- Ignoring a slow drift in alignment. In Columbia, a gate that’s drifted a fraction of an inch in fall will be worse in spring. Catch the drift early and the operator stays in adjustment.
- Tightening a stretched chain. A chain that’s stretched won’t get tighter by turning the tensioner; the links are worn. Tightening it just loads the bearings and wears the sprocket.
- Not writing anything down. A repair without a record is a repair you can’t compare. Keep the dates and the numbers and you can see what’s changing before a part fails.
When to Call a Professional
There’s a line between what a homeowner can check and what a homeowner should hand over. Some of it is obvious: anything involving the operator’s power supply or its internal wiring is a technician’s job, full stop. Some of it is less obvious. A gate that reverses inconsistently, an operator that trips its thermal cutoff, a post that’s heaving, a loop detector that’s stopped registering, a slide gate that’s come off its track – all of those are repairs that need a trained eye and the right parts on hand. Faults that pass one test and fail the next are the ones that hide. In Columbia, the freeze-thaw season makes alignment and footing work a professional job rather than a homeowner job.
For homeowners in the Columbia area, we offer free estimates on every repair, and we’ll tell you plainly when a repair isn’t needed. Our technicians have up to 9 years of experience, we work across the major automation brands and we know the difference between a part that needs replacing and one that needs adjusting. Call (866) 519-6885. We answer 24/7. Fast dispatch from 7am to 7pm, Sunday through Friday. The price is quoted and agreed before any work starts. For the broader range of what we do, the Gate Repair Columbia page covers it.
See the difference
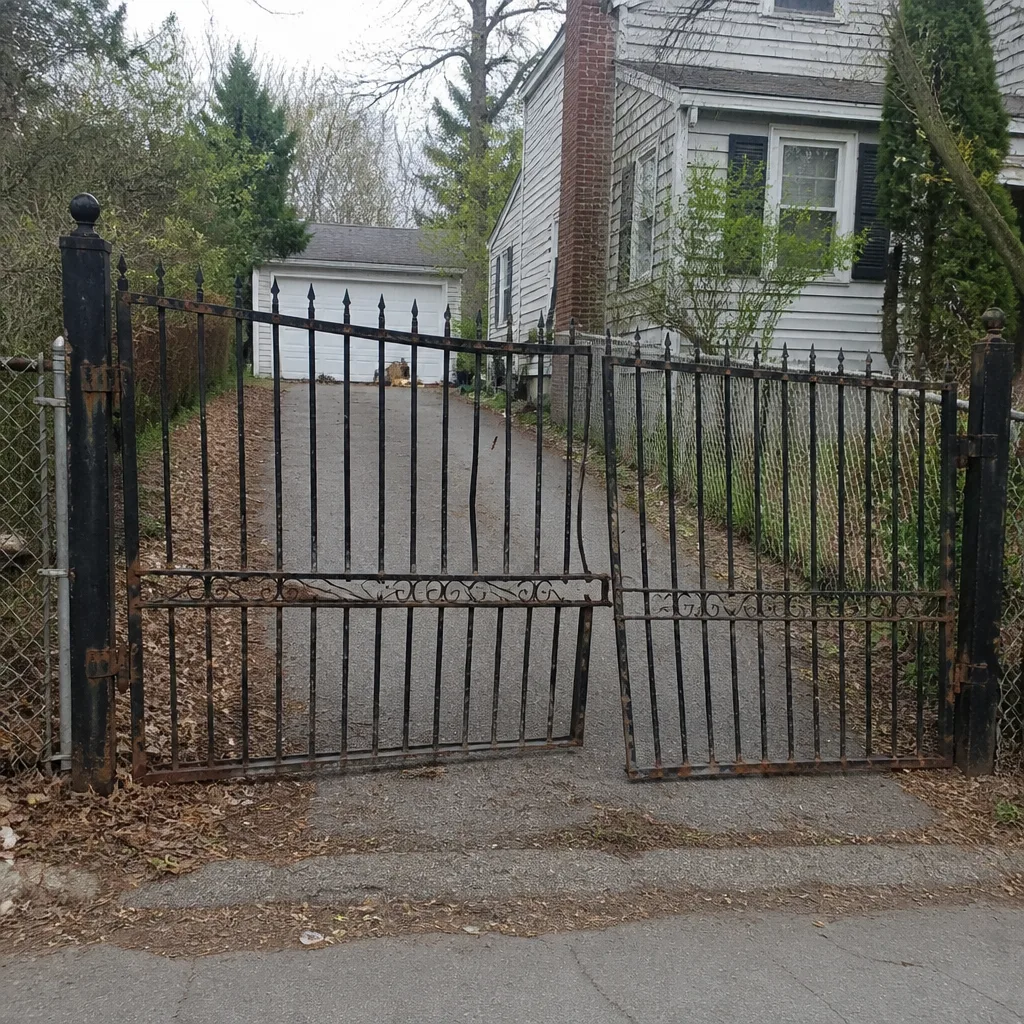 Before
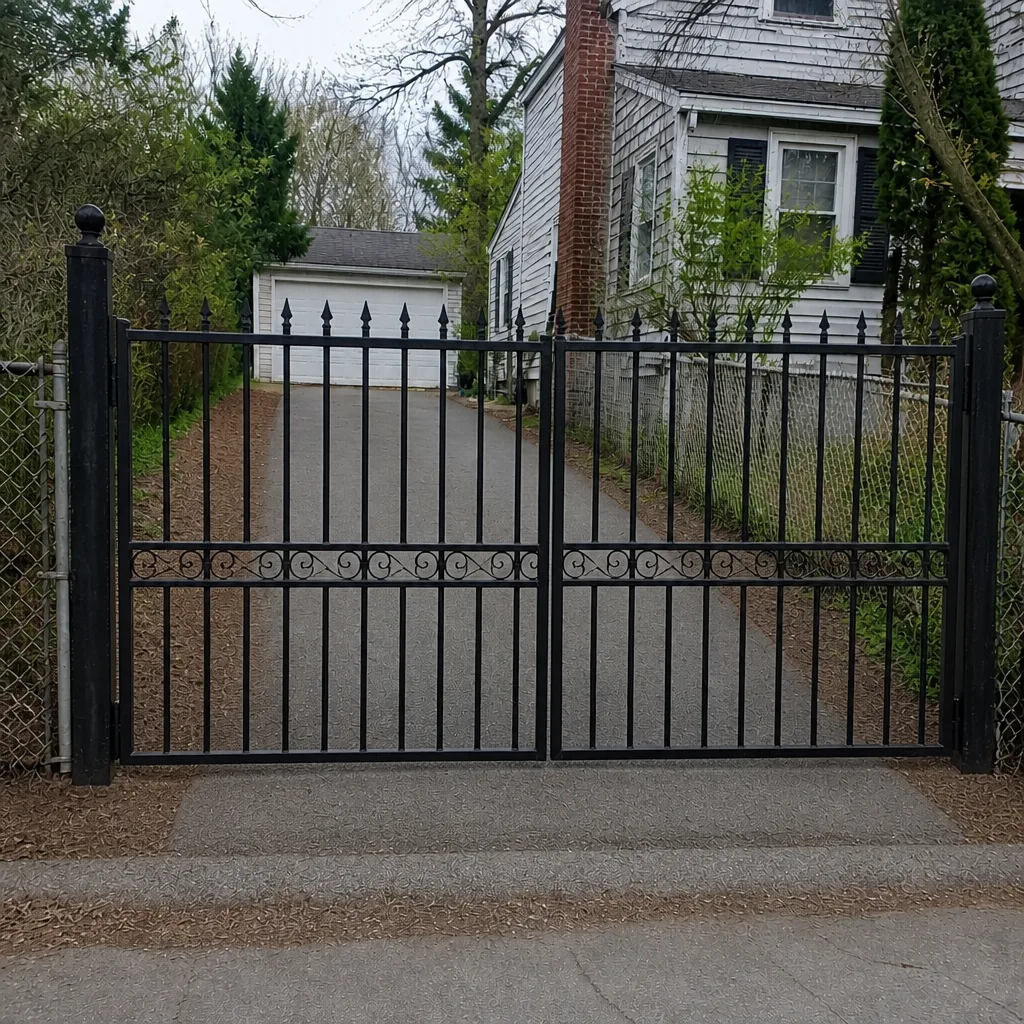 After
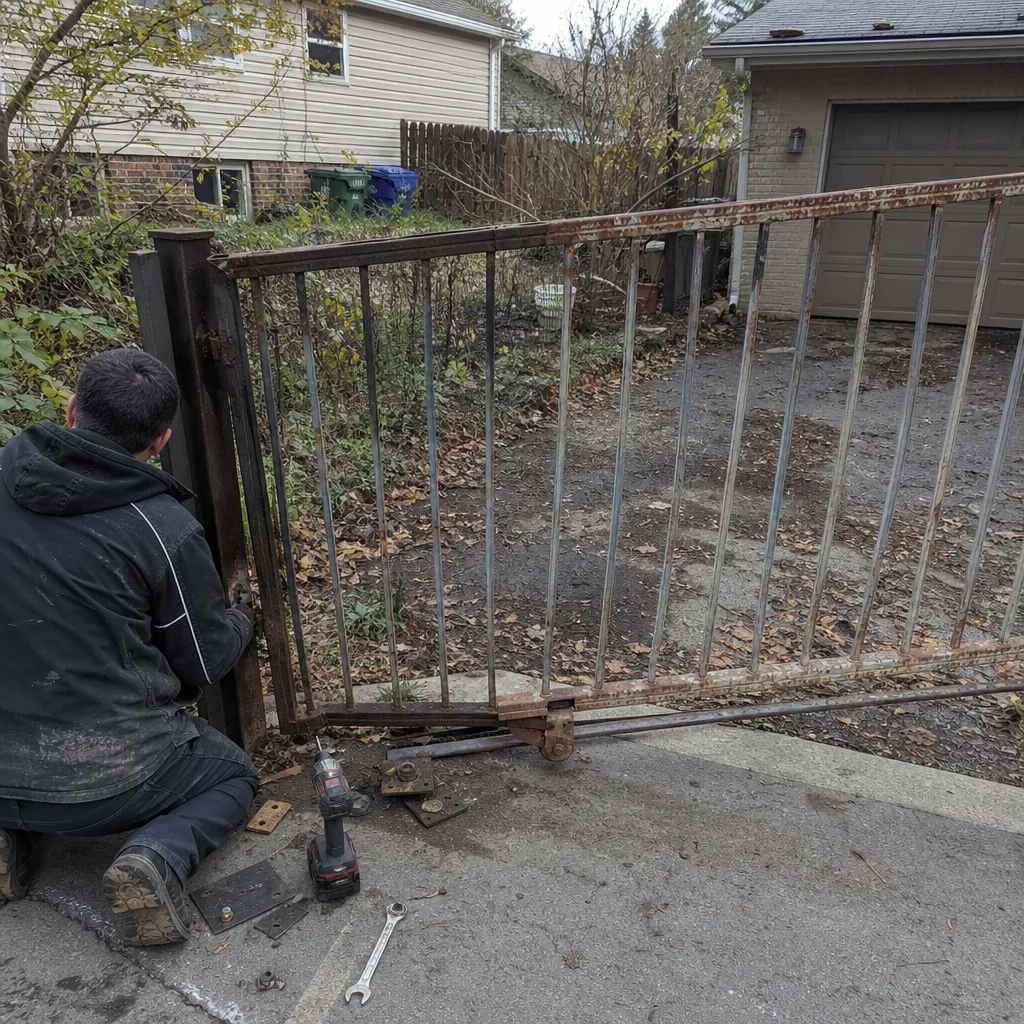 Before
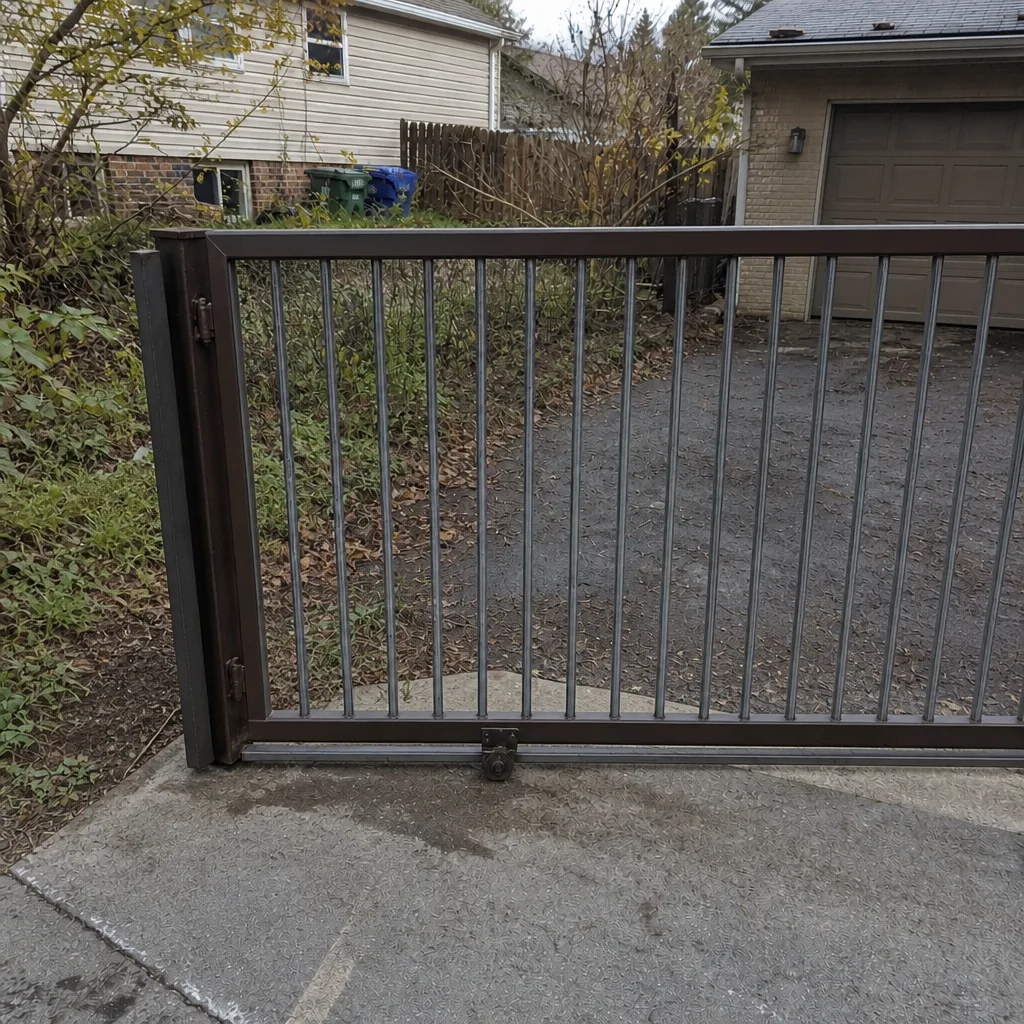 After
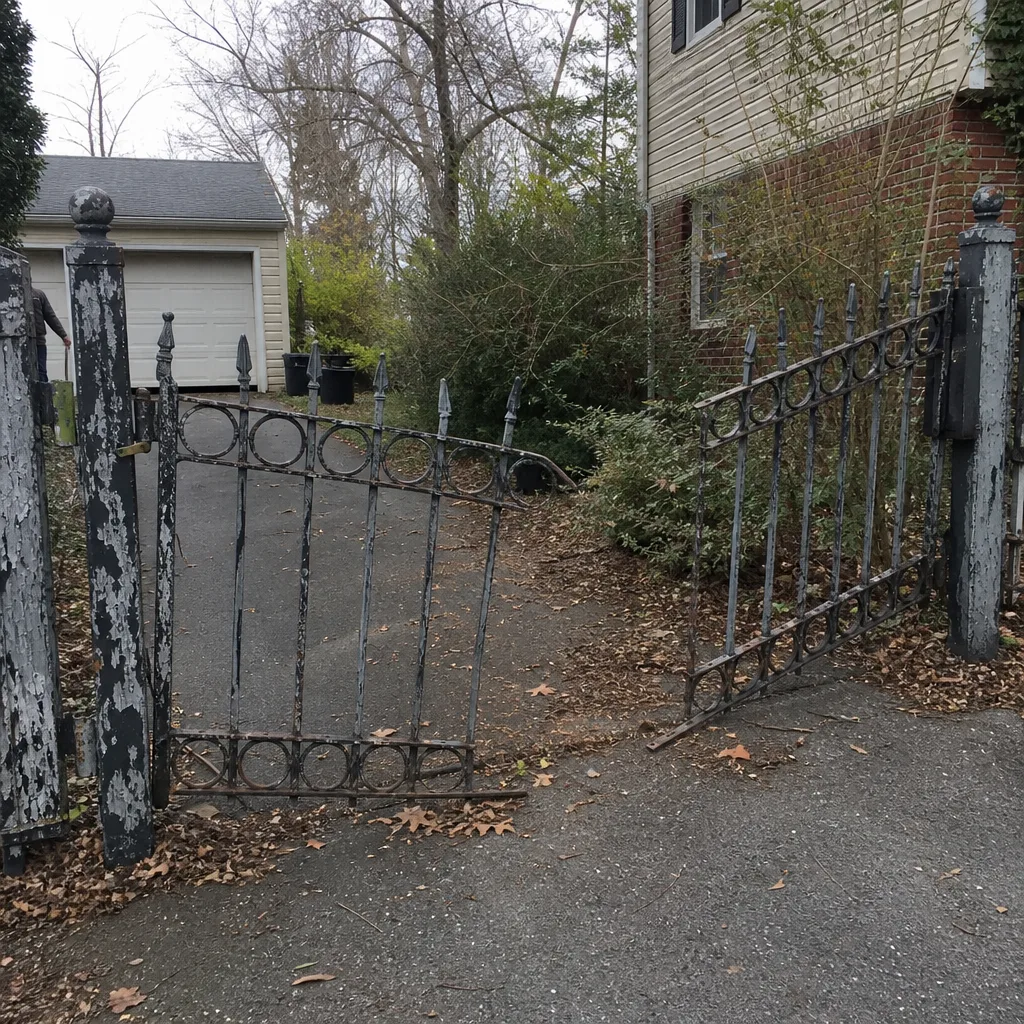 Before
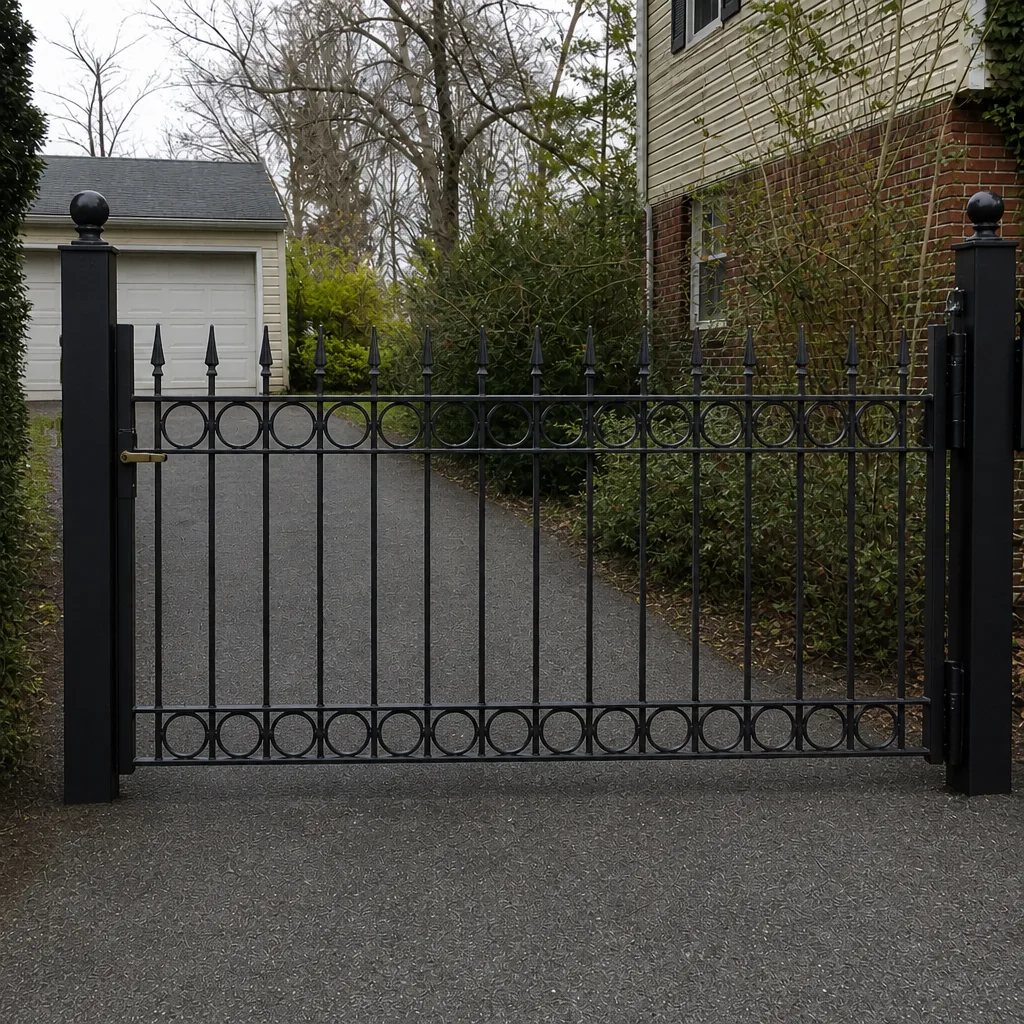 After
Frequently Asked Questions
Walk the gate monthly, check the operator and drive mechanism quarterly, and do a full inspection annually, ideally in late fall before the first hard freeze. Columbia’s clay soil and repeated freezing and thawing make alignment and footing checks more important here than in milder climates. Our technicians have up to 9 years of experience running these inspections across the brands we work on. Call (866) 519-6885 for an exact quote on an inspection – estimates are free.
Use a dedicated outdoor chain lubricant that penetrates the link plates, not a heavy grease. Grease traps grit, and a greasy chain wears the sprocket faster than a dry one. Apply it to the roller chain on a slide gate, or use a light exposed-gear grease on the rack of a rack-and-pinion system. For hinge pins, use a light penetrating oil, not grease. If you’re unsure what’s on your gate, call (866) 519-6885 and we’ll tell you what your brand and system call for.
Yes. A gate that doesn’t reverse when it meets an object is a gate that should not be running automatically. Put the gate in manual mode and call a technician. The cause is usually a sensor, a wiring issue or a control-board component, and a diagnosis is quick and cheap compared to the alternative. Call (866) 519-6885 for an exact quote – estimates are free.
A loop detector senses a vehicle over the driveway exit loop and keeps the gate open or triggers it to open. Loop detectors fail silently, usually after driveway work or root damage, and the gate keeps running – it just doesn’t know when to open and stay open. That’s a safety issue. Call (866) 519-6885 if your loop stops registering.
No. The control box holds line voltage, and the compartment isn’t meant to be opened by anyone without the training to do it safely. Look from the outside for insect nests, moisture or chewed wires, then schedule a technician. There is a real electrical hazard in there. Call (866) 519-6885 to book a visit.
Record the date, closing gap at top, middle and bottom, post plumb, operator noise, safety test result and any new cracks or rust spots. Keep the same measurements in the same order every time so two visits are comparable. A technician can read a dozen entries at a glance and see a trend. Call (866) 519-6885 when the notes start showing a change – estimates are free.
The Bottom Line
A good gate checklist isn’t a list of tasks; it’s a system-by-system inspection protocol. Monthly, walk the gate by hand, check the hinges, look at the posts and clear the path. Quarterly, go inside the operator – arm pivots, chain tension, limit switches, control box and accessories. Once a year, time it to the freeze-thaw cycle and check the footings, alignment and fasteners before winter sets in. Use the right lubricant on the right component. Test the safety reverse and loop detector every quarter. Write down what you find. The gate that gets this routine is the gate that stays out of trouble, and the gate in Columbia that gets this routine is the gate that survives the freeze-thaw season intact.
Written by the team at Gate Repair Columbia.